Super Saiyan Destruction How to Evolve Forms
Climb eight transformations per fighter without wasting rebirth momentum.
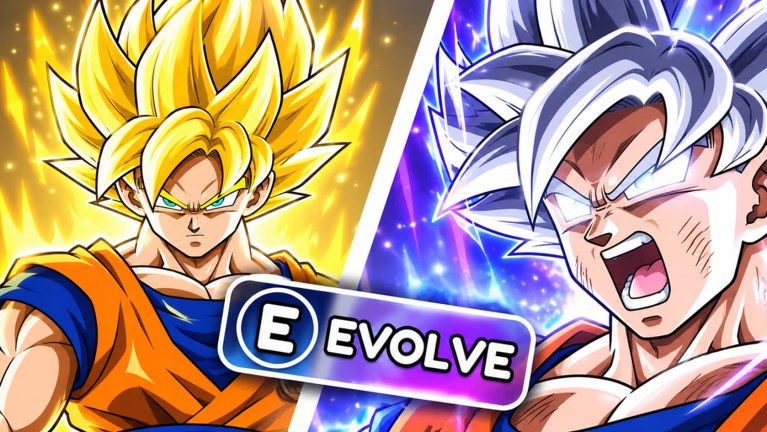
Forms are the spectacle and the math of Super Saiyan Destruction. Each fighter can evolve through eight forms, turning basic punches into map-erasing combos when paired with Ki Blasts, giant beams, and move upgrades. This guide shows how to progress forms efficiently on Roblox, how transformations interact with training and rebirths, and how to avoid common stalls after UPD2-era map changes.
What a form actually does
When you evolve, your destruction tools scale. Early forms make punching bags and soft props melt. Later forms exist so denser rotating maps still fall before the timer. Forms also change how confident you should feel spending a beam—stronger forms forgive minor aim errors because leftover props die faster to follow-up punches.
Exact multiplier numbers can shift with patches, so treat in-game unlock text as truth and use this guide for decision order.
Prerequisites before you obsess over form 8
- Finish the Getting Started checklist (gifts, group reward, basic clears).
- Know your inputs from Controls.
- Establish a bag rhythm via How to Train.
- Understand that rebirths multiply future progress—sometimes resetting mid-form-ladder is correct (How to Rebirth).
Unlock cadence for the eight-form ladder
Think in tiers rather than memorizing spoilers:
- Forms 1–3 — onboarding transformations. Buy them ASAP. They teach you how auras and power spikes feel.
- Forms 4–5 — mid-game workhorses. Most casual clears stabilize here if moves are upgraded.
- Forms 6–8 — pressure tools for tougher map rotations and leaderboard sessions. Expensive enough that you should compare them to legendary unlocks and rebirth timing.
If a form requirement quotes power, cash, or quest-like milestones, meet them with focused bag blocks interrupted by real destruction tests. Never grind bags for twenty minutes past an unlock you forgot to purchase.
Combat tips after each evolution
- Re-test beam angles; larger explosions can clip props you previously needed two passes to break.
- Re-check whether Ki Blasts now overkill small objects—save them for mid-distance clusters.
- If a form increases movement or attack tempo, shorten your pathing loops to cover more of the map.
- Die-hard melee-only habits waste forms; weave all three attack types.
Forms vs move upgrades
Sometimes the next form is available but a move upgrade enlarges explosions more for your current maps. Quick heuristic:
- Timers failing → prefer the option that raises clear speed (often form or wide-clear move).
- Timers comfortable, cash slow → earnings upgrades or a rebirth may beat another form.
- Both affordable → take the form if you are still below your fighter’s midpoint; take the move if you are experimenting with explosion radius on already-high forms.
Cross-check community priority with the Forms Tier List.
Forms across fighters
Unlocking a new fighter—including legendaries—starts another eight-form journey. Do not assume form 8 on fighter A transfers visually or mathematically to fighter B. When you switch, confirm which form is active before a ranked-feeling session. Legendary kits can make mid forms play above their letter rank because specials delete clusters; read Legendary Fighters and the Fighters Tier List.
Rebirth interactions
Rebirths stack multipliers but can reset soft progress depending on the live rules. Before you rebirth:
- Note your highest comfortable form.
- Plan the first purchases after reset (usually re-securing a mid form and a key move).
- Avoid evolving to form 8 seconds before a rebirth if that cash would better seed post-reset recovery—unless the form is required to finish the rebirth requirement itself.
Climbers on the Players Hub path treat forms as accelerants inside each rebirth cycle, not as trophies to preserve forever.
Free rewards and paid pacing
Free Gifts, likes, and the Are We There Yet?? group reward can pull a form unlock forward by a session (Codes Hub). VIP (~99 Robux) and cash products likewise change pacing only. Neither replaces learning when a transformation is worth pressing.
Mistakes that freeze form progress
- Saving “for the ultimate form” while failing basic timers.
- Forgetting to activate the new form after purchase.
- Ignoring bags, hoping maps alone grant unlock stats.
- Chasing unsafe “instant all forms” scripts (Scripts Hub).
- Skipping Updates after UPD2 and wondering why costs feel different.
Practice plan (one evening)
- Claim gifts.
- Bag until the next form unlocks; buy and activate it.
- Play three destruction rounds focusing on beam efficiency.
- Buy a move upgrade if clears still feel narrow.
- Log rebirth distance; decide whether another form or a reset comes tomorrow.
Related reading
Evolve on purpose, test every form in a real timed map, and let transformations turn training math into highlight-worthy destruction.
Frequently Asked Questions
Quick answers to the most common questions.
How many forms does each fighter have?
Each fighter can evolve through eight forms. Progress them with training, cash, and combat power as shown in-game.
Should I unlock every form before rebirth?
Not always. If a rebirth multiplier speeds future forms more than clinging to a late form helps, reset—see How to Rebirth.
Why is my new form not doing more damage?
Confirm it is active, then test on a fresh map. Also upgrade moves and keep training; forms multiply a foundation you still have to build.
Do legendary fighters share forms with starters?
Treat each fighter’s eight-form ladder separately and verify in the fighter menu after switching.
Where are form rankings?
See the Forms Tier List for priority guidance that updates with the meta.