Super Saiyan Destruction How to Train at Punching Bags
Turn bag sessions into faster map wipes and smoother rebirths.
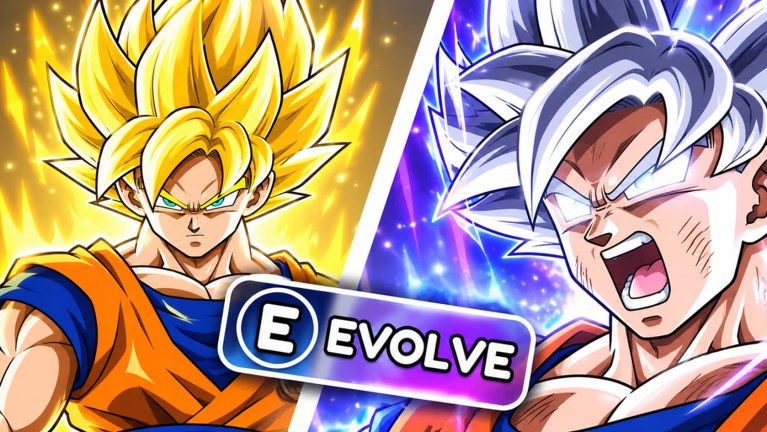
Training is the quiet half of Super Saiyan Destruction. Destruction rounds look like the trailer; punching bags are where your power actually climbs when maps stop falling over. This guide explains how to train efficiently, when to leave the bags for a timed clear, and how training feeds forms, move upgrades, and rebirth multipliers on the Roblox simulator from Are We There Yet??.
Why bags exist
The official loop tells you to train to get stronger, then destroy maps before time runs out. Bags provide controlled repetition without depending on a lucky prop layout. If you only fight maps, your growth curve follows clear quality. If you only hit bags, you never practice beam angles. Alternating both is the point.
Offline power earnings help when you are away, but active bag time plus claimed Free Gifts still outpaces pure AFK hopes—especially before your first few rebirths. Claim stored offline value when you log in (Codes Hub covers free reward hygiene), then decide whether this session starts on bags or on a map.
Finding a rhythm
- Approach a punching bag and use your melee input (see Controls).
- Settle into a steady hit rate that keeps you colliding with the bag.
- Watch your power/cash feedback so you know when a threshold unlocks.
- Stop training the moment you can buy a high-impact form, move level, or rebirth that was blocking clears.
Mashing until your thumbs fall off is not a strategy. Training is a bridge between goals.
Goal-oriented training blocks
Block A — Unlock the next form
If the next of your eight forms is close, bags are usually the fastest honest path. Forms multiply how hard every punch and beam hits during the next destruction round. Prioritize this block whenever timers fail despite decent aim. Details: How to Evolve Forms.
Block B — Fund a move upgrade
When explosions feel tiny, move upgrades enlarge them and improve earnings. Train until the purchase is available, buy it, then immediately test on a map. If the upgrade does nothing obvious, you may have bought a low-tier node—compare priorities with the Tier List Hub.
Block C — Rebirth threshold
Rebirth stacking is how leaderboard players separate themselves (Players Hub.) When you are within reach of a sensible rebirth, bags help you cross the line without risking a failed final map. After you reset, return to bags briefly only long enough to restore clear capability—read How to Rebirth.
Session templates
Fifteen-minute express
- 2 minutes claim gifts / check Shop
- 6 minutes bags toward a concrete unlock
- 5 minutes destruction rounds
- 2 minutes buy upgrades / note rebirth distance
Forty-minute grind
- Claim gifts
- 12 minutes bags
- 3 map rounds
- Buy form or moves
- 8 minutes bags
- 3 map rounds
- Evaluate rebirth
Post-update inspection (after UPD2-style patches)
- One map first to feel new density (Updates)
- Adjust bag time up if clears got harder
- Avoid long AFK until you know rates still make sense
Common training mistakes
- AFK forever — offline earnings exist, but active play plus gifts still matter for competitive pacing.
- Ignoring forms — stronger bag hits mean less time to the next goal once a form is active.
- Training through a Free Gift timer — claim rewards first so multipliers apply to the session.
- Never testing maps — you cannot learn beam lining on a bag.
- Buying VIP mid-bag without reading — VIP (~99 Robux) is optional; do not impulse-buy while auto-repeating punches.
- Using executors to auto-farm bags — unsafe, unverified for this title, and ban-prone (Scripts Hub).
Training with multiple fighters
As you unlock additional fighters—including up to three legendary fighters—confirm whether bag gains apply in a shared power system or need per-fighter attention in your current build. When in doubt, train on the fighter you will actually take into the next timed map. Legendary specials do not remove the need for bags; they change how you spend the power bags create. See Legendary Fighters.
Measuring efficiency
Track rough metrics for a week:
- Minutes on bags per form unlocked
- Map clear success rate after each training block
- Rebirths completed per playday
If clear success is high but rebirths are rare, you may be over-training past soft walls instead of resetting. If rebirths are frequent but clears fail, train more after each reset before pushing leaderboards.
Pairing bags with destruction economy
Remember the fantasy loop: destroy for fun and clear rewards, train for stats, upgrade moves for bigger explosions and earnings, rebirth for multipliers. Bags are not a side minigame—they are the engine. When a new map rotation arrives, expect to add bag minutes until your forms catch up.
Next steps
- New accounts: finish Getting Started.
- Ready to transform: How to Evolve Forms.
- Ready to reset: How to Rebirth.
- Comparing power options: Forms Tier List.
Train with intention, leave the bags when an unlock is ready, and let every punching session buy a cleaner wipe on the next map.
Frequently Asked Questions
Quick answers to the most common questions.
Where do I train in Super Saiyan Destruction?
Use the punching bags in the experience. Hit them with melee between destruction rounds to raise power toward forms, moves, and rebirths.
Should I only AFK on bags?
No. Mix bag training with timed map clears. Claim Free Gifts and offline earnings, but practice beams and punches in live rounds.
When do I stop training and fight?
Stop when you can afford a meaningful form, move upgrade, or rebirth—then test the power spike on a map immediately.
Do legendary fighters still need bag training?
Yes. Special moves help clears, but punching bags still build the power those kits scale with.
Can scripts auto-train safely?
There are no verified public scripts for this game, and executors risk bans. Prefer manual training and the Scripts Hub safety notes.